What along time since I posted anything. Keryn went away for a week and that meant I had to water both gardens and look after both houses and do the customer quilts as well. I was Busy! I thought I'd just put up a heap of pictures as my excuse, and hopefully I can blog regularly from now on. I can sense a New Year's resolution coming on...
A cuddly flannelette quilt.. This is the back of the quilt above. I had to make the backing bigger by adding strips all round and I didn't have high hopes of being able to centre the cream middle bit because once it's on the frame you can't really see what's going on. But it came out nearly perfect, phew! (The bottom edges are curling in, so they look skinnier, but take my word, it was even on all sides)
 Three darling baby quilts.


 And I haven't got a photo of the one that came off the frame last night, so there's more to come!
Saturday, November 29, 2008
Sunday, November 09, 2008
I'm having a nice time pottering in my room and sorting things out. Still haven't found the missing sashes, and I'll probably have to choose a new fabric. (The missing bits were the maroon stripe in the foreground.)
The antique quilt I based it on had lots of different stripes used in the sashing and I was going to use just two, but I guess I'll be following the original by having three or more fabrics.
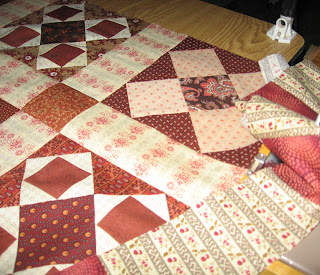
As a reward for slaving over the huge quilt I wanted to do something little and decided a runner like Keryn's would be a quick project. In my searches I pulled open a drawer and found some leftover 9-patches, and as the 3 1/2" strip drawer was getting full I made setting squares from them. The resulting top is twice as wide as this (couldn't get it all in one photo) and used all but four of the blocks. 
The 3 1/2" drawer still wouldn't shut properly and I was sick of a bag of 2" strips that Keryn had given me, so it all went into the backing. I simply pieced all the bits on their short edges into long, long strips, then cut the lengths I needed for the back, with a bit extra to allow for quilting. As I sewed the lengths together I was amazed at how much it took, this would be a good way to get rid of those stubborn boring bits that refuse to 'go' with anything else. Looks boring and ho-hum, but it's the Back! Who's going to see it, I ask you? Probably everyone because I'll turn it over and show them....
 I have these two vintage baskets in my sewing room. The one with the blue handle is my ironing basket and fabric, scraps and strips that need pressing wait in there, next to the ironing board. When I've finished pressing seams I usually take out a few small bits and press them and trim them to size before I cut my next lot of pieces for the current project. It's a good way to keep on top of the bits that accumulate.
Thursday, November 06, 2008

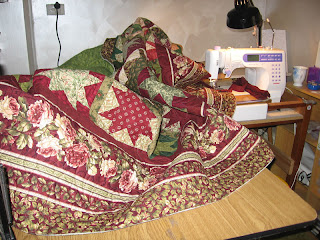
The huge quilt is completely finished and has had it's mug shot taken; I'm looking forward to this leaving because it takes up so much room! I'm pleased with the way it's turned out, but I can't get over the size of it hanging up, and there's a lot just draped on the ground too. I need something small and manageable now, that I can get finished quickly.
Isn't the border fabric gorgeous?
Tonight is our small patchwork class (next year we should be able to expand our lessons) and two ladies have completed tops so far. I'm going to be quilting both of them (the tops, not the ladies!) and they're so pretty I'm looking forward to it. There's lots of stitcheries on both; we seem to have done quite a few of them in the last year, and I've got some ideas for them already. I'm going to try out some of our pretty variegated threads on these; I never thought I'd get so excited about thread, but it's fun to see how they react to the fabric and makes the quilting even more interesting to do.
Tuesday, November 04, 2008
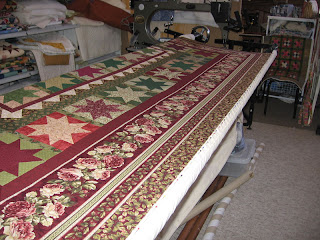
My customer quilt was finally loaded on the machine(stopping first to admire the seams on the back- why do I like taking photos of the patterns the seams make?)  It turned out huge, as per request, but it seemed to stretch off into the distance in an alarming way. That's a hell of a lot of top to quilt!
 It's about 110" square, so when it came time to bind it I had to cut ten strips of fabric; that was a first for me. I tried not to think about the sewing on part, but it had to be tackled.
 I'll take a good photo of it tomorrow when Keryn is there to help me hang it but it's so heavy and long it will need lots of muscles and the tallest rungs on the quilt stand.
 And this is the view of the other end of the machine..... I think we could do with a bit of a tidy-up, don't you?
